Did you know that improper cleaning can reduce your vacuum sealer’s efficiency by up to 40%? Maintaining your vacuum sealer and jar sealer isn’t just about cleanliness—it’s a crucial investment that directly impacts your equipment’s performance and longevity. When food residues accumulate on sealing strips or mineral deposits build up in internal components, you risk mechanical failure, bacterial contamination, and compromised food preservation. This comprehensive guide reveals professional cleaning techniques that will help your machines maintain optimal performance for 3-5 years longer than neglected equipment, ensuring perfect seals and maximum food freshness with every use.
【Why Proper Cleaning Matters】
Extending Your Equipment’s Lifespan
How Regular Maintenance Prevents Costly Repairs
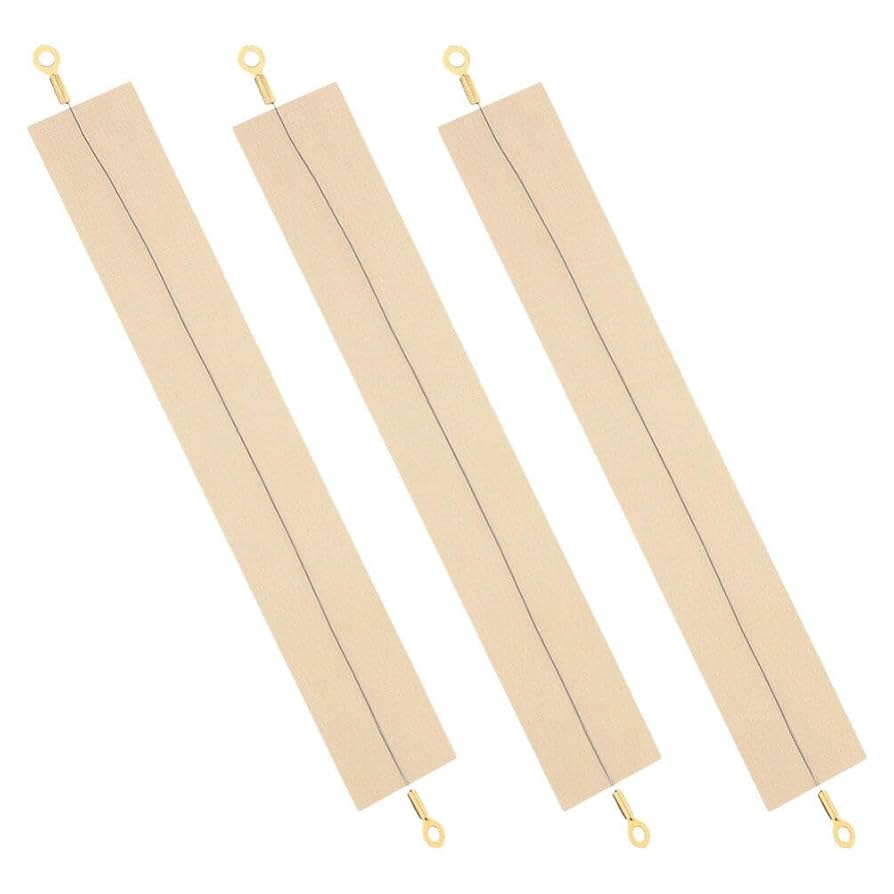
Think of cleaning your vacuum sealer and jar sealer not as a chore, but as an investment. When food residues, especially from oily or sugary items, accumulate on the sealing strip and inside the vacuum channel, they don’t just create a mess. This grime can be drawn into the machine’s internal vacuum pump, the heart of the entire system, leading to premature wear and potential failure. Similarly, for jar sealers that use water, mineral deposits from hard water can build up on heating elements and sensors. This scale acts as an insulator, forcing your machine to work harder and reducing its suction efficiency by up to 40% over time. A simple, consistent cleaning routine is the key to avoiding these issues, helping your machine maintain optimal performance for 3-5 years longer than a neglected one.
The Hidden Dangers of Poor Hygiene
Beyond mechanical wear, an unclean sealer can become a hub for unwanted microorganisms. The warm, moist environment of a recently used sealer is a perfect breeding ground for bacteria and mold. These contaminants can easily transfer to your food bags or jar rims, posing a significant food safety risk. Furthermore, without proper cleaning, you risk cross-contamination; the potent oils from last week’s salmon can subtly taint the flavor of your freshly sealed strawberries. Mold spores growing in the hard-to-reach nooks of your appliance can also become airborne, compromising the air quality in your kitchen.
Maximizing Food Preservation Quality
Impact on Seal Integrity and Freshness
The ultimate goal of using a vacuum or jar sealer is to preserve food at its peak freshness, and this hinges entirely on a perfect seal. A clean machine is fundamental to achieving this. For vacuum sealers, any residual grease from meats or oils from nuts left on the sealing bar can weaken the plastic bag’s seal strength by as much as 30%, leading to leaks and spoilage. A pristine sealing edge ensures you achieve a near-perfect 99% air removal, which is critical for maximizing the shelf life of your food. For jar sealers, cleanliness ensures that the lid contacts the jar rim perfectly, allowing the machine to maintain consistent pressure for a reliable, long-lasting seal every time.
- Product:
- Link:
【Vacuum Sealer Machine Deep Cleaning】
Daily Maintenance Routine
A few minutes of care after each use is the most effective way to prevent the buildup of grime and ensure your machine is always ready for its next task.
Quick Wipe-Down After Each Use
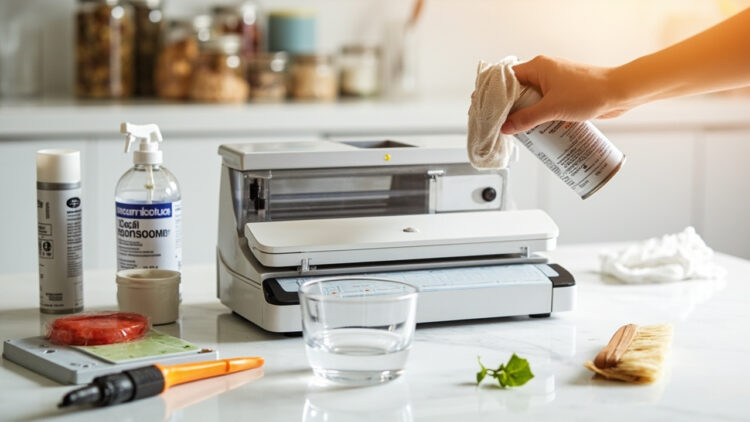
- Exterior Surfaces: Always unplug the machine first. Use a soft cloth, slightly dampened with a solution of mild dish soap and warm water, to wipe down the entire exterior. Wipe it again with a cloth dampened with clean water to remove any soap residue, and then dry it thoroughly.
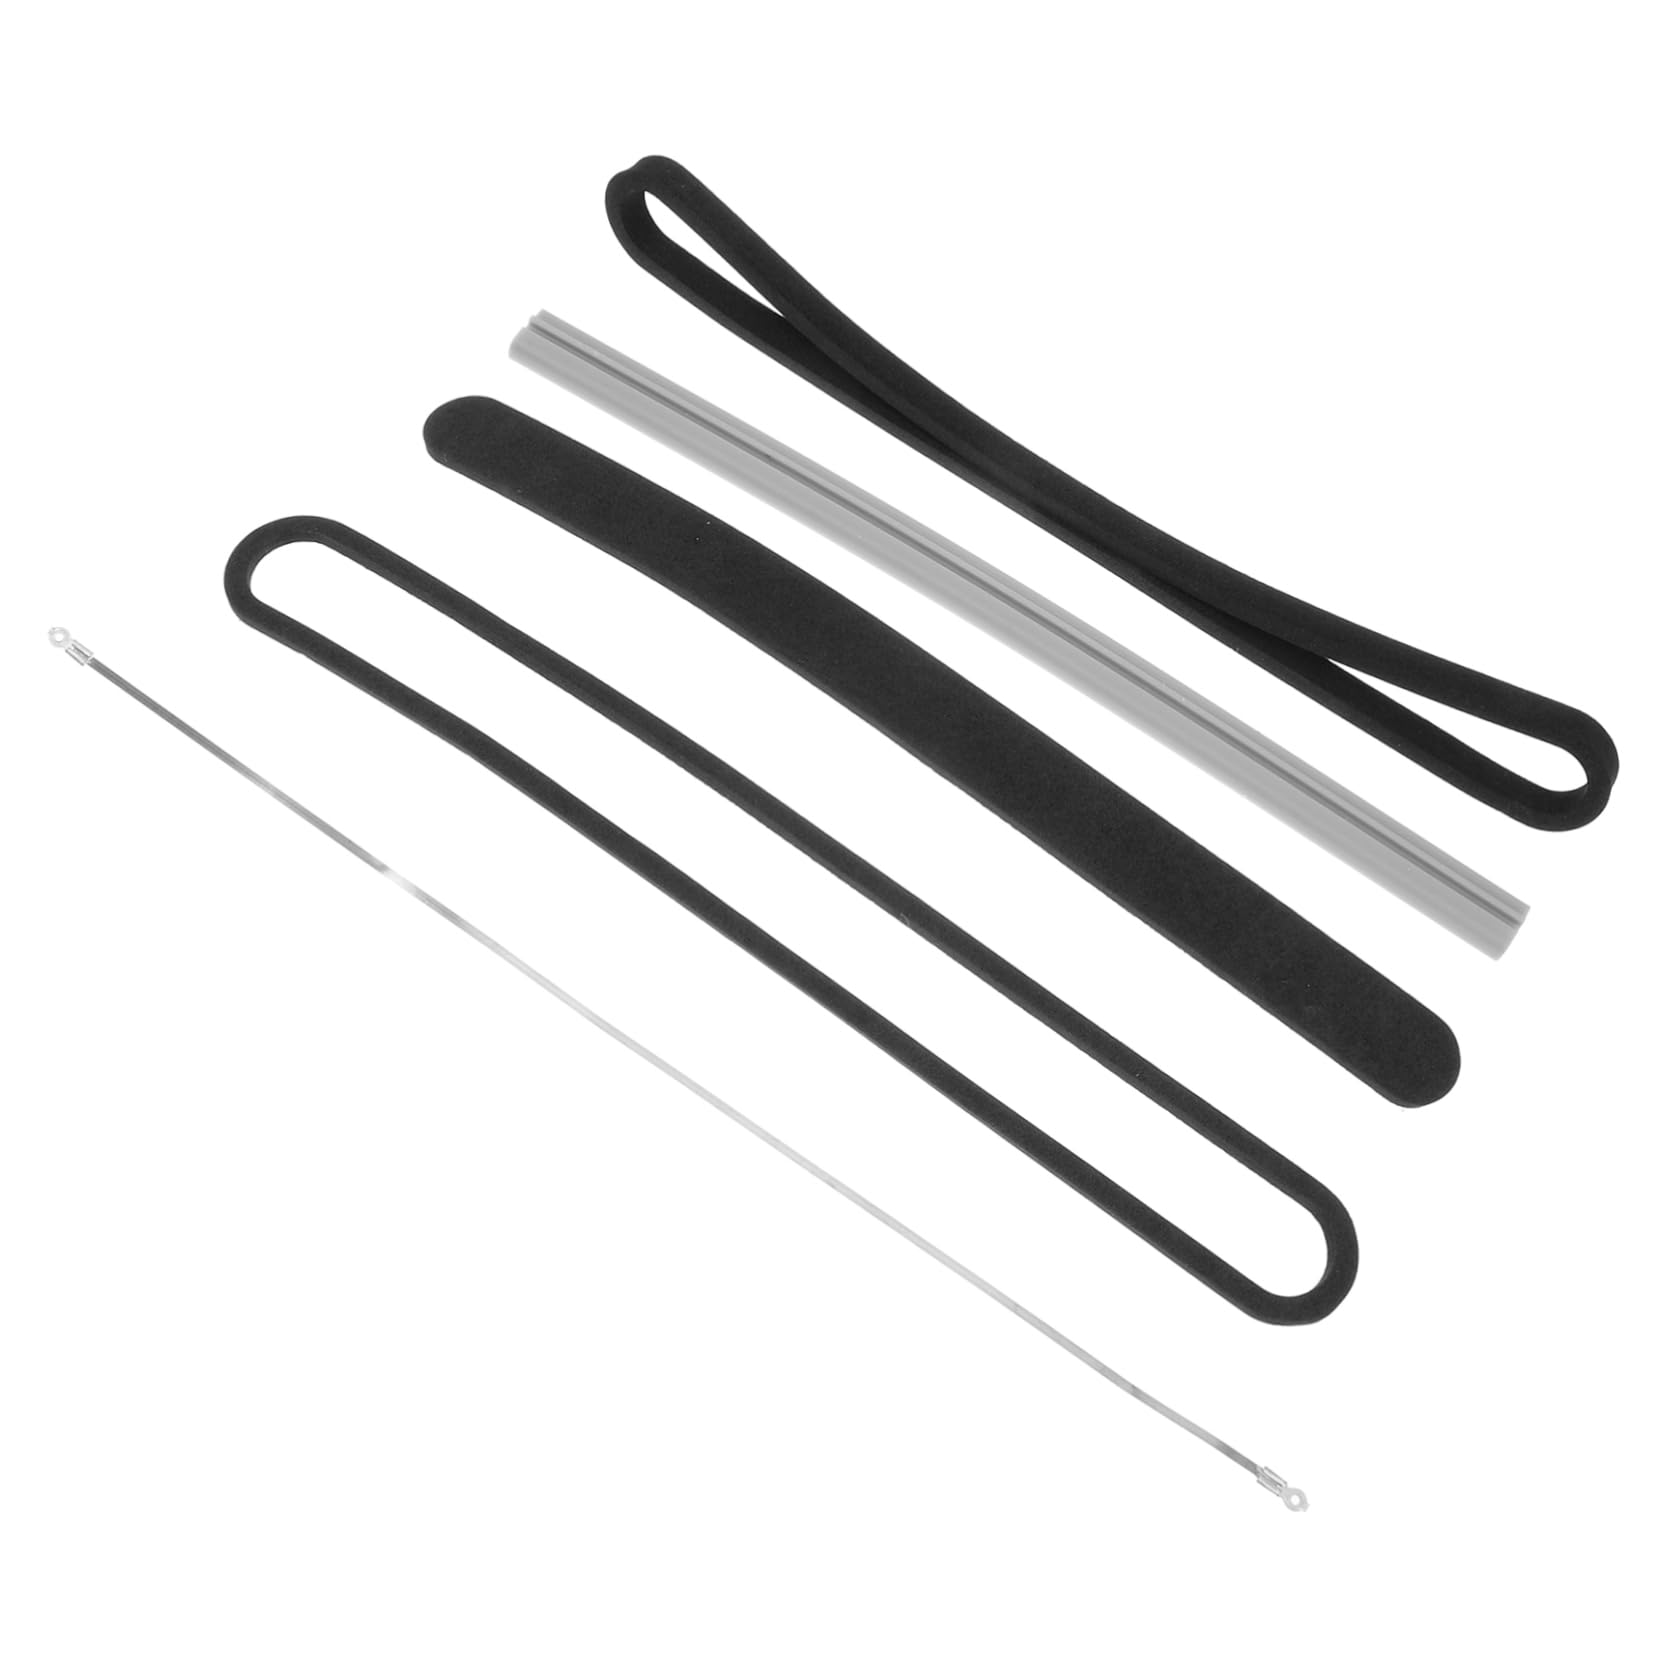
- The Sealing Strip: This is a critical area where residue can prevent a proper seal. Dip a cotton swab in isopropyl alcohol (at least 70%) and gently wipe along the entire length of the silicone sealing strip. The alcohol cleans effectively and evaporates quickly without leaving moisture behind. For visible debris, a dry, soft-bristled toothbrush can be used to dislodge particles first.
- The Vacuum Channel: This is the slot or area where the air is sucked out. Use a can of compressed air (like those used for cleaning electronics) to blast out any loose food particles or dust. Hold the can upright and use short bursts to avoid forcing moisture into the machine.
Weekly Deep Cleaning Protocol
If you use your sealer frequently, a weekly deep clean will keep it in top condition.
| Step | Action | Key Consideration |
|---|---|---|
| 1 | Disassemble | Consult your 2025 model’s manual. Carefully remove any parts designed to be detached, such as the drip tray, liquid collection container, or sealing strip cover. |
| 2 | Soak | Submerge the non-electrical, removable parts in warm, soapy water for about 15 minutes. This will loosen any dried-on or sticky residues. |
| 3 | Scrub | Use a soft-bristled brush (a clean toothbrush is perfect) to gently scrub the soaked parts, paying close attention to crevices and intricate areas. Rinse all components thoroughly with clean water. |
| 4 | Dry & Reassemble | Allow all parts to air-dry completely before reassembling the machine. Trapped moisture can lead to mold and impair function. |
Troubleshooting Common Cleaning Challenges
Even with the best routines, you might encounter some stubborn issues. Here’s how to tackle them.
Dealing with Stubborn Residue
- Dried Food Particles: For sticky or caked-on food, create a paste from baking soda and a small amount of water. Apply it to the affected area, let it sit for 5-10 minutes, and then scrub gently with a soft cloth or brush. The mild abrasiveness of the baking soda will lift the residue without scratching.
- Mineral Deposits: If you have hard water or your machine has been exposed to moisture, white scale can form. A 1:1 solution of white vinegar and water is perfect for dissolving these deposits. Apply with a cloth, let it sit for a few minutes, then wipe clean and dry.
- Stiff Moving Parts: For manual lock-style sealers or any moving parts, a tiny drop of food-grade lubricant on a cotton swab applied to the rails or hinges can keep the action smooth. Ensure no lubricant gets on the sealing strip or vacuum channel.
Addressing Odor Issues
Persistent smells from fish, garlic, or onions can be transferred to your next batch of food if not addressed.
-
Absorbing Odors: Place a small packet of activated charcoal inside the vacuum chamber or near the machine when not in use. It will naturally absorb lingering odors from the air inside the unit.
-
Neutralizing Odors: Wipe down all non-electrical surfaces, especially the sealing area and drip tray, with a 50/50 solution of lemon juice and water. The citric acid is excellent at cutting through oils and neutralizing odors.
-
Eliminating Strong Aromas: For a powerful deodorizing treatment, place a tablespoon of fresh or used coffee grounds into a small, open container and run a vacuum cycle without a bag. The coffee grounds will help pull strong food aromas from the plastic components. Remember to wipe out any fine grounds afterward.
-
Product: FreshLock Pro Vacuum Sealer
-
Link: https://amzn.to/3VtYZwQ
【Mason Jar Sealer Maintenance】
Portable Electric Sealer Care
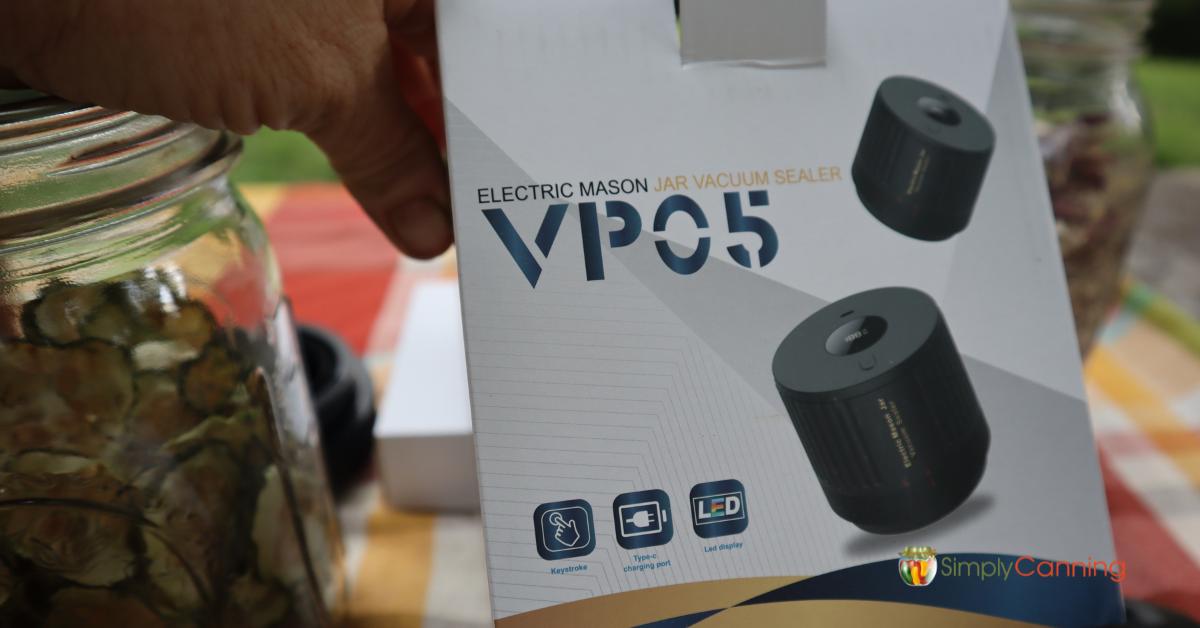
Keeping your portable electric jar sealer in good shape ensures it will create a reliable, long-lasting seal for your preserved foods every time. A little preventative care goes a long way.
Cleaning the Sealing Head and Attachments
The sealing head is the heart of your device, and keeping it clean is paramount for performance and food safety.
- Wipe Rubber Gaskets: After every use, while the device is unplugged or powered off, use a soft cloth or cotton swab dampened with a food-safe sanitizer or 70% isopropyl alcohol to gently wipe the rubber gaskets. This removes any moisture, food residue, or oils that could degrade the rubber or prevent a proper seal on your next jar.
- Clear Air Channels: The small air channels in the sealing head can become clogged over time. To clear them, gently use a piece of unwaxed dental floss or the specialized cleaning tool that often comes with the sealer. Carefully thread it through the channel to dislodge any debris. A quick blast of compressed air can also be effective.
- Store Attachments Separately: If your sealer comes with different-sized lids or attachments, store them in their own dedicated container or bag. This prevents the soft rubber gaskets from being pressed against hard surfaces for long periods, which can cause them to deform and lose their sealing ability.
Battery and Charging Port Maintenance
Since these sealers are designed for portability, protecting their power source is key to their longevity.
- Keep Charging Contacts Clean: Regularly inspect the metal charging contacts on both the device and the charging cable. Wipe them with a dry cotton swab to remove any dust or debris that could interfere with charging. If they appear corroded, lightly dab with a cotton swab moistened with isopropyl alcohol and let it dry completely.
- Avoid Moisture Exposure: Be extra cautious to prevent liquid from entering the charging port or any other electronic openings. Never submerge the main body of the sealer in water.
- Store in a Dry Environment: When not in use, store your jar sealer in a cool, dry place. Humidity can lead to corrosion on the internal electronic components and the external charging contacts, potentially leading to failure.
Manual Sealer and Attachment Care
Manual sealers are wonderfully simple tools, but their mechanical parts need occasional attention to function smoothly for years.
Maintaining Hand Pump Systems
The hand pump is what creates the vacuum, and keeping it well-maintained is straightforward.
-
Regular Lubrication: About once every six months, or if the pump begins to feel stiff, apply a single drop of food-grade mineral oil to the moving parts. Refer to your 2025 model’s manual for the specific lubrication points, which are often on the piston shaft. This will keep the action smooth and prevent wear.
-
Check Valve Functionality Monthly: A simple test can confirm your pump is working correctly. Place the sealer head on a clean, empty jar and pump as usual. Once a vacuum is formed, listen carefully for any hissing sounds indicating the valve is not holding. Alternatively, note how long the jar lid stays depressed; if it pops up quickly, the valve may need cleaning or replacement.
-
Replace Worn Gaskets: The small rubber gaskets inside the pump and on the sealing head are wear items. Depending on how frequently you use your sealer, plan to replace them every 6 to 12 months. A worn gasket is a common reason for a loss of vacuum pressure.
-
Product: FreshLock Jar Sealer Pro Kit
-
Link: https://amzn.to/4cD8w9x
【Vacuum Sealer Bag Reuse and Cleaning】
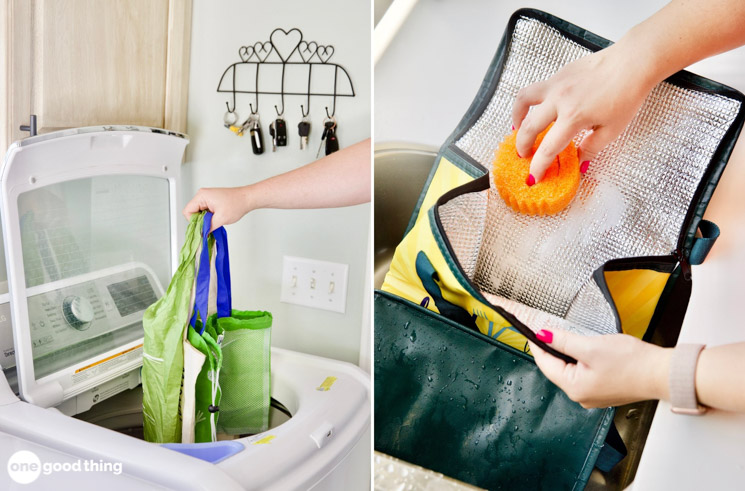
Getting the most out of your vacuum sealer often means reusing bags when it’s safe and practical to do so. Not only is this approach kinder to your wallet, but it’s also better for the environment. Knowing which bags can handle a second act and how to clean them properly is the key to doing this safely.
Identifying Reusable Bag Types
Suitable Candidates for Multiple Uses
Some bags are built to last more than a single use. Look for these characteristics:
- Textured Bags with Thickness of 8+ Mil: The thicker, textured bags are significantly more durable than their smooth, thin counterparts. Their robust construction allows them to withstand the physical stress of repeated cleaning, vacuuming, and handling without developing weak spots or punctures.
- Bags Used for Dry Goods: Bags that have only contained dry, non-greasy, and non-aromatic foods are prime candidates for reuse. Think of bags used for flour, rice, pasta, beans, or cereals. Since these items don’t harbor bacteria as readily as perishables and don’t leave behind oily residues, the bags are much easier to clean and sanitize effectively.
- Silicone Reusable Bags: Designed specifically for the long haul, high-quality silicone bags are the champions of reusability. Many are rated for 100+ uses. They are inherently more puncture-resistant and can typically handle both dishwasher cleaning and more rigorous hand washing.
Bags to Avoid Reusing
For the sake of food safety, it’s best to err on the side of caution and retire these bags after a single use:
- Thin Pre-cut Bags Used for Raw Meat or Fish: Bags that have contained raw protein are a high-risk category. The potential for harmful bacteria like Salmonella or E. coli to linger in microscopic scratches or punctures is too great. The thin plastic of pre-cut bags is also more prone to damage.
- Bags with Compromised Seals or Microscopic Punctures: If a bag’s seal is wrinkled, incomplete, or if you can see or feel any tiny holes, it’s time to discard it. A compromised bag cannot achieve or maintain a proper vacuum, rendering it useless and potentially spoiling your food.
- Bags That Held Oily Foods or Strong Spices: Oils and strong flavors from foods like curry, garlic, or fish can permeate the plastic. These odors and tastes are nearly impossible to remove completely and will likely transfer to the next food you store, contaminating its flavor.
Safe Cleaning Methods for Reusable Bags
Hand Washing Technique
A careful, thorough hand wash is the most reliable method for cleaning reusable vacuum bags.
- Immediate Rinsing Prevents Residue Setting: As soon as you open the bag, give it a quick rinse with warm water. This prevents any food residue from drying and sticking to the plastic, making the full clean-up much easier.
- Use Mild Dish Soap and Soft Sponge for Interior Surfaces: Turn the bag inside out. Using a soft sponge or cloth and a small amount of mild dish soap, gently wash the entire interior surface. Pay special attention to the corners and along the seal area where debris can hide. Avoid abrasive scouring pads, as they can scratch the plastic.
- Hang Upside Down to Air Dry Completely: After a thorough rinse to remove all soap, shake out the excess water. Prop the bag open and hang it upside down over a bottle or a drying rack to ensure both the interior and the seal channel dry completely. Trapped moisture can lead to mold and mildew.
Sanitizing Process for Food Safety
Especially if you plan to reuse a bag for a different type of food, a sanitizing step is a wise precaution.
-
Bleach Solution (1 Tbsp per Gallon) for 5-Minute Soak: For a proven disinfectant, create a mild bleach solution by mixing one tablespoon of unscented household bleach with one gallon of cool water. Submerge the inside-out bag in this solution for about five minutes.
-
Vinegar Rinse Neutralizes Odors and Disinfects: As an alternative or a follow-up to the bleach soak, you can use a white vinegar rinse. A solution of one part vinegar to three parts water can help neutralize lingering odors and provides a natural disinfecting property. Soak for 5-10 minutes.
-
Air Drying Prevents Moisture-Related Bacterial Growth: After sanitizing, rinse the bag thoroughly with clean water. Just like after washing, allow it to air dry completely inside and out before you store it or use it again. Do not towel-dry the inside, as this can reintroduce lint or bacteria.
-
Product: FreshLock Vacuum Bag Value Roll
-
Link: https://amzn.to/3KpQJ7x
【Jar and Lid Preparation for Optimal Sealing】
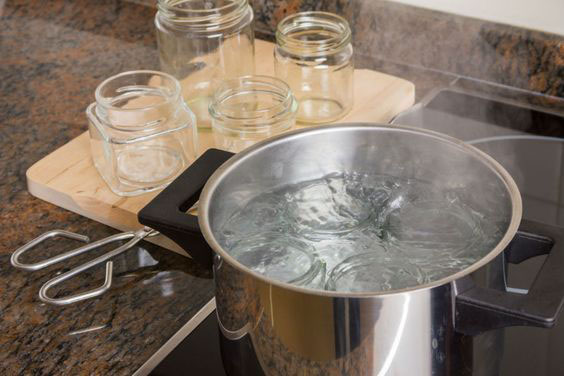
Just as with vacuum sealer bags, the key to a perfect seal with your jar sealer attachment lies in meticulous preparation. The cleanliness and condition of your mason jars and lids are non-negotiable for both food safety and achieving that satisfying, long-lasting vacuum seal. A small chip or a speck of food debris is all it takes to break the seal and spoil your hard work.
Mason Jar Cleaning Protocol
Pre-Sealing Sterilization Methods
Before you fill your jars with coffee, dried herbs, or meal prep ingredients, they must be impeccably clean and sterile. This ensures no bacteria are trapped inside with your food.
- Boiling jars for 10 minutes eliminates bacteria: This is the gold-standard, time-tested method. Submerge your clean jars completely in a large pot of water, bring it to a rolling boil, and keep it there for at least 10 minutes. Use jar lifters to remove them, placing them upright on a clean towel.
- Dishwasher sterilization cycle maintains consistent temperature: If your dishwasher has a “sanitize” or high-temperature cycle, it’s a convenient and effective alternative. Simply run an empty cycle with your jars placed upright on the racks. Leave them in the closed dishwasher until you are ready to fill them to maintain cleanliness.
- Oven heating at 225°F provides alternative sterilization: After washing, place the jars on a baking sheet in a cold oven. Heat the oven to 225°F (107°C) and leave the jars inside for at least 20 minutes once the temperature is reached. This method is great for drying the jars thoroughly as well.
Rim Inspection and Maintenance
The top rim of the jar is where the magic of the seal happens, and it demands your close attention.
- Check for chips and cracks that compromise seal integrity: Run your finger gently along the entire top sealing rim of the jar. Any nicks, cracks, or rough spots will prevent the lid from forming an airtight bond. Discard any jars with imperfections.
- Clean threads with bottle brush to remove food particles: The screw threads can easily trap old food or mineral deposits. A dedicated bottle brush is the perfect tool to scrub these hard-to-reach areas and ensure a smooth fit for the ring.
- Dry thoroughly to prevent moisture-related seal failure: Any moisture on the jar’s rim or threads can interfere with the vacuum sealing process. After washing and sterilizing, ensure every part of the jar is completely dry before you attempt to seal it.
Lid Care and Reuse Guidelines
Flat Lid Maintenance
The flat lid, with its rubberized sealing compound, is the critical component that creates the vacuum. Its care is paramount.
- Inspect for warping or bending before each use: Place the flat lid on a perfectly flat surface, like a countertop. Press down around the edges. If you see any rocking or can slip a piece of paper under the edge, it’s warped and must be replaced.
- Clean sealing compound with vinegar to maintain pliability: Gently wipe the rubberized sealing ring on the lid with a soft cloth dampened with white vinegar. This helps remove any residue without using harsh chemicals that could degrade the material and keeps it soft and effective.
- Store flat to prevent deformation: Never stack your flat lids. Store them in a single layer in a cool, dry place to avoid putting any pressure on the sealing compound that could cause it to warp over time.
Determining Lid Reusability
Knowing when to retire a lid is just as important as knowing how to clean it.
-
Metal lids typically withstand 8-10 vacuum sealing cycles: With careful inspection and cleaning between uses, standard metal canning lids can often be reused for vacuum sealing several times. However, the gasket material will eventually break down.
-
Plastic lids offer longer lifespan but require regular inspection: Plastic storage lids are generally more durable for long-term storage of dry goods after vacuum sealing, but they still need to be checked for cracks and to ensure the seal remains intact.
-
Signs for replacement include rust, cracks, or weakened seals: If you see any rust, especially around the rim, deep scratches on the plastic, or if the lid no longer “pops” when you open a newly sealed jar, it’s time for a new one. A weak seal means the vacuum has been lost.
-
Product: FreshLock Vacuum Sealer Universal Jar Sealer
-
Link: https://amzn.to/3ZjgwfR
【Troubleshooting Cleaning-Related Issues】
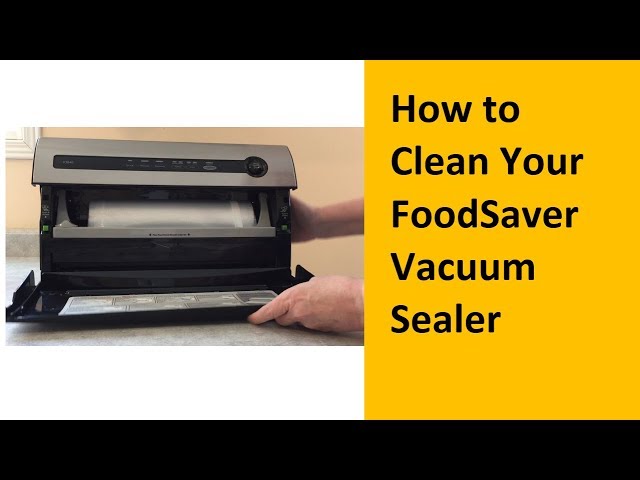
Even with the best preparation, a poorly maintained sealer can lead to frustration and wasted food. Many common performance issues can be traced back to cleaning habits. Let’s troubleshoot the most frequent problems and establish a simple maintenance routine to keep your machine in top shape for 2025 and beyond.
Common Problems and Solutions
Poor Vacuum Performance
When your machine struggles to pull a strong vacuum, the culprit is often a blockage or a worn part that needs attention.
- Clogged air channels reduce suction power by up to 60%: Over time, tiny food particles, dust, or even moisture can get sucked into the machine’s internal air channels. This restricts airflow, making the motor work harder while pulling a weaker vacuum. Use a can of compressed air to gently blow out the channels and the area around the vacuum port.
- Dirty filters require replacement every 3-6 months: The foam filter inside your vacuum sealer is its first line of defense. A clogged, greasy filter is a major cause of weak suction. Check it regularly and replace it according to your manufacturer’s guidelines, typically every 3 to 6 months with regular use.
- Moisture in vacuum mechanism affects sensor accuracy: If you’ve recently sealed a liquid-rich food, moisture may have entered the vacuum mechanism. This can confuse the machine’s sensors and cause it to cut the cycle short. Always ensure the sealing area is completely dry, and if moisture is suspected, wipe the interior with a dry cloth and let the machine air out.
Seal Failure Causes
A seal that looks good but fails to hold, or one that is visibly imperfect, is often due to a simple, cleanable issue.
- Food residue on jar rims prevents airtight closure: This is the most common cause of jar seal failure. Even a tiny speck of grease or a crumb on the jar’s rim will break the seal. Always perform a final wipe of the jar rim with a clean, dry cloth right before sealing.
- Damaged sealing strips create micro-leaks: The heating strip that melts the bag or activates the jar sealer can become scratched, pitted, or coated with burnt-on plastic residue. This prevents even heat distribution, leading to weak spots in the seal. Inspect the strip regularly and clean it gently with a soft cloth or a plastic scraper when it’s cool.
- Incorrect cleaning products leave oily residues: Using harsh chemicals or abrasive cleaners on the sealing area can damage the non-stick coating. More commonly, they can leave behind an invisible, oily film that interferes with the seal. Stick to mild soap and water or isopropyl alcohol for a streak-free clean.
Preventive Maintenance Schedule
A little consistent care can prevent most major issues. Here’s a simple schedule to follow.
Daily Tasks
Quick habits to adopt after every use.
- Wipe exterior surfaces after each use: A quick pass with a damp cloth keeps your machine looking new and prevents sticky buildup.
- Clean sealing area of food particles: Open the lid and brush or wipe away any crumbs or debris from the sealing strip and the channel where the bag sits.
- Check for visible damage or wear: Take a quick glance at the sealing strip and the lid gasket for any obvious signs of damage before you put the machine away.
Monthly Maintenance
A more thorough check-up to ensure long-term reliability.
-
Deep clean all removable parts: Refer to your manual, and remove any parts that are designed to be cleaned separately, such as the drip tray, liquid reservoir, and foam filter. Wash them in warm, soapy water, rinse thoroughly, and let them dry completely before reassembling.
-
Inspect and replace worn gaskets: The rubber gasket around the lid is crucial for creating the closed chamber needed for vacuuming. Check it for cracks, stiffness, or tears, and replace it if you find any.
-
Test vacuum pressure and seal quality: Once a month, perform a test seal on an empty bag or a jar with a dry paper towel inside. This confirms that your machine is still pulling a strong vacuum and creating a perfect seal.
-
Product: FoodSaver Maintenance Kit with Foam Filters
-
Link: https://amzn.to/3LkvvRX
【Storage and Organization Tips】
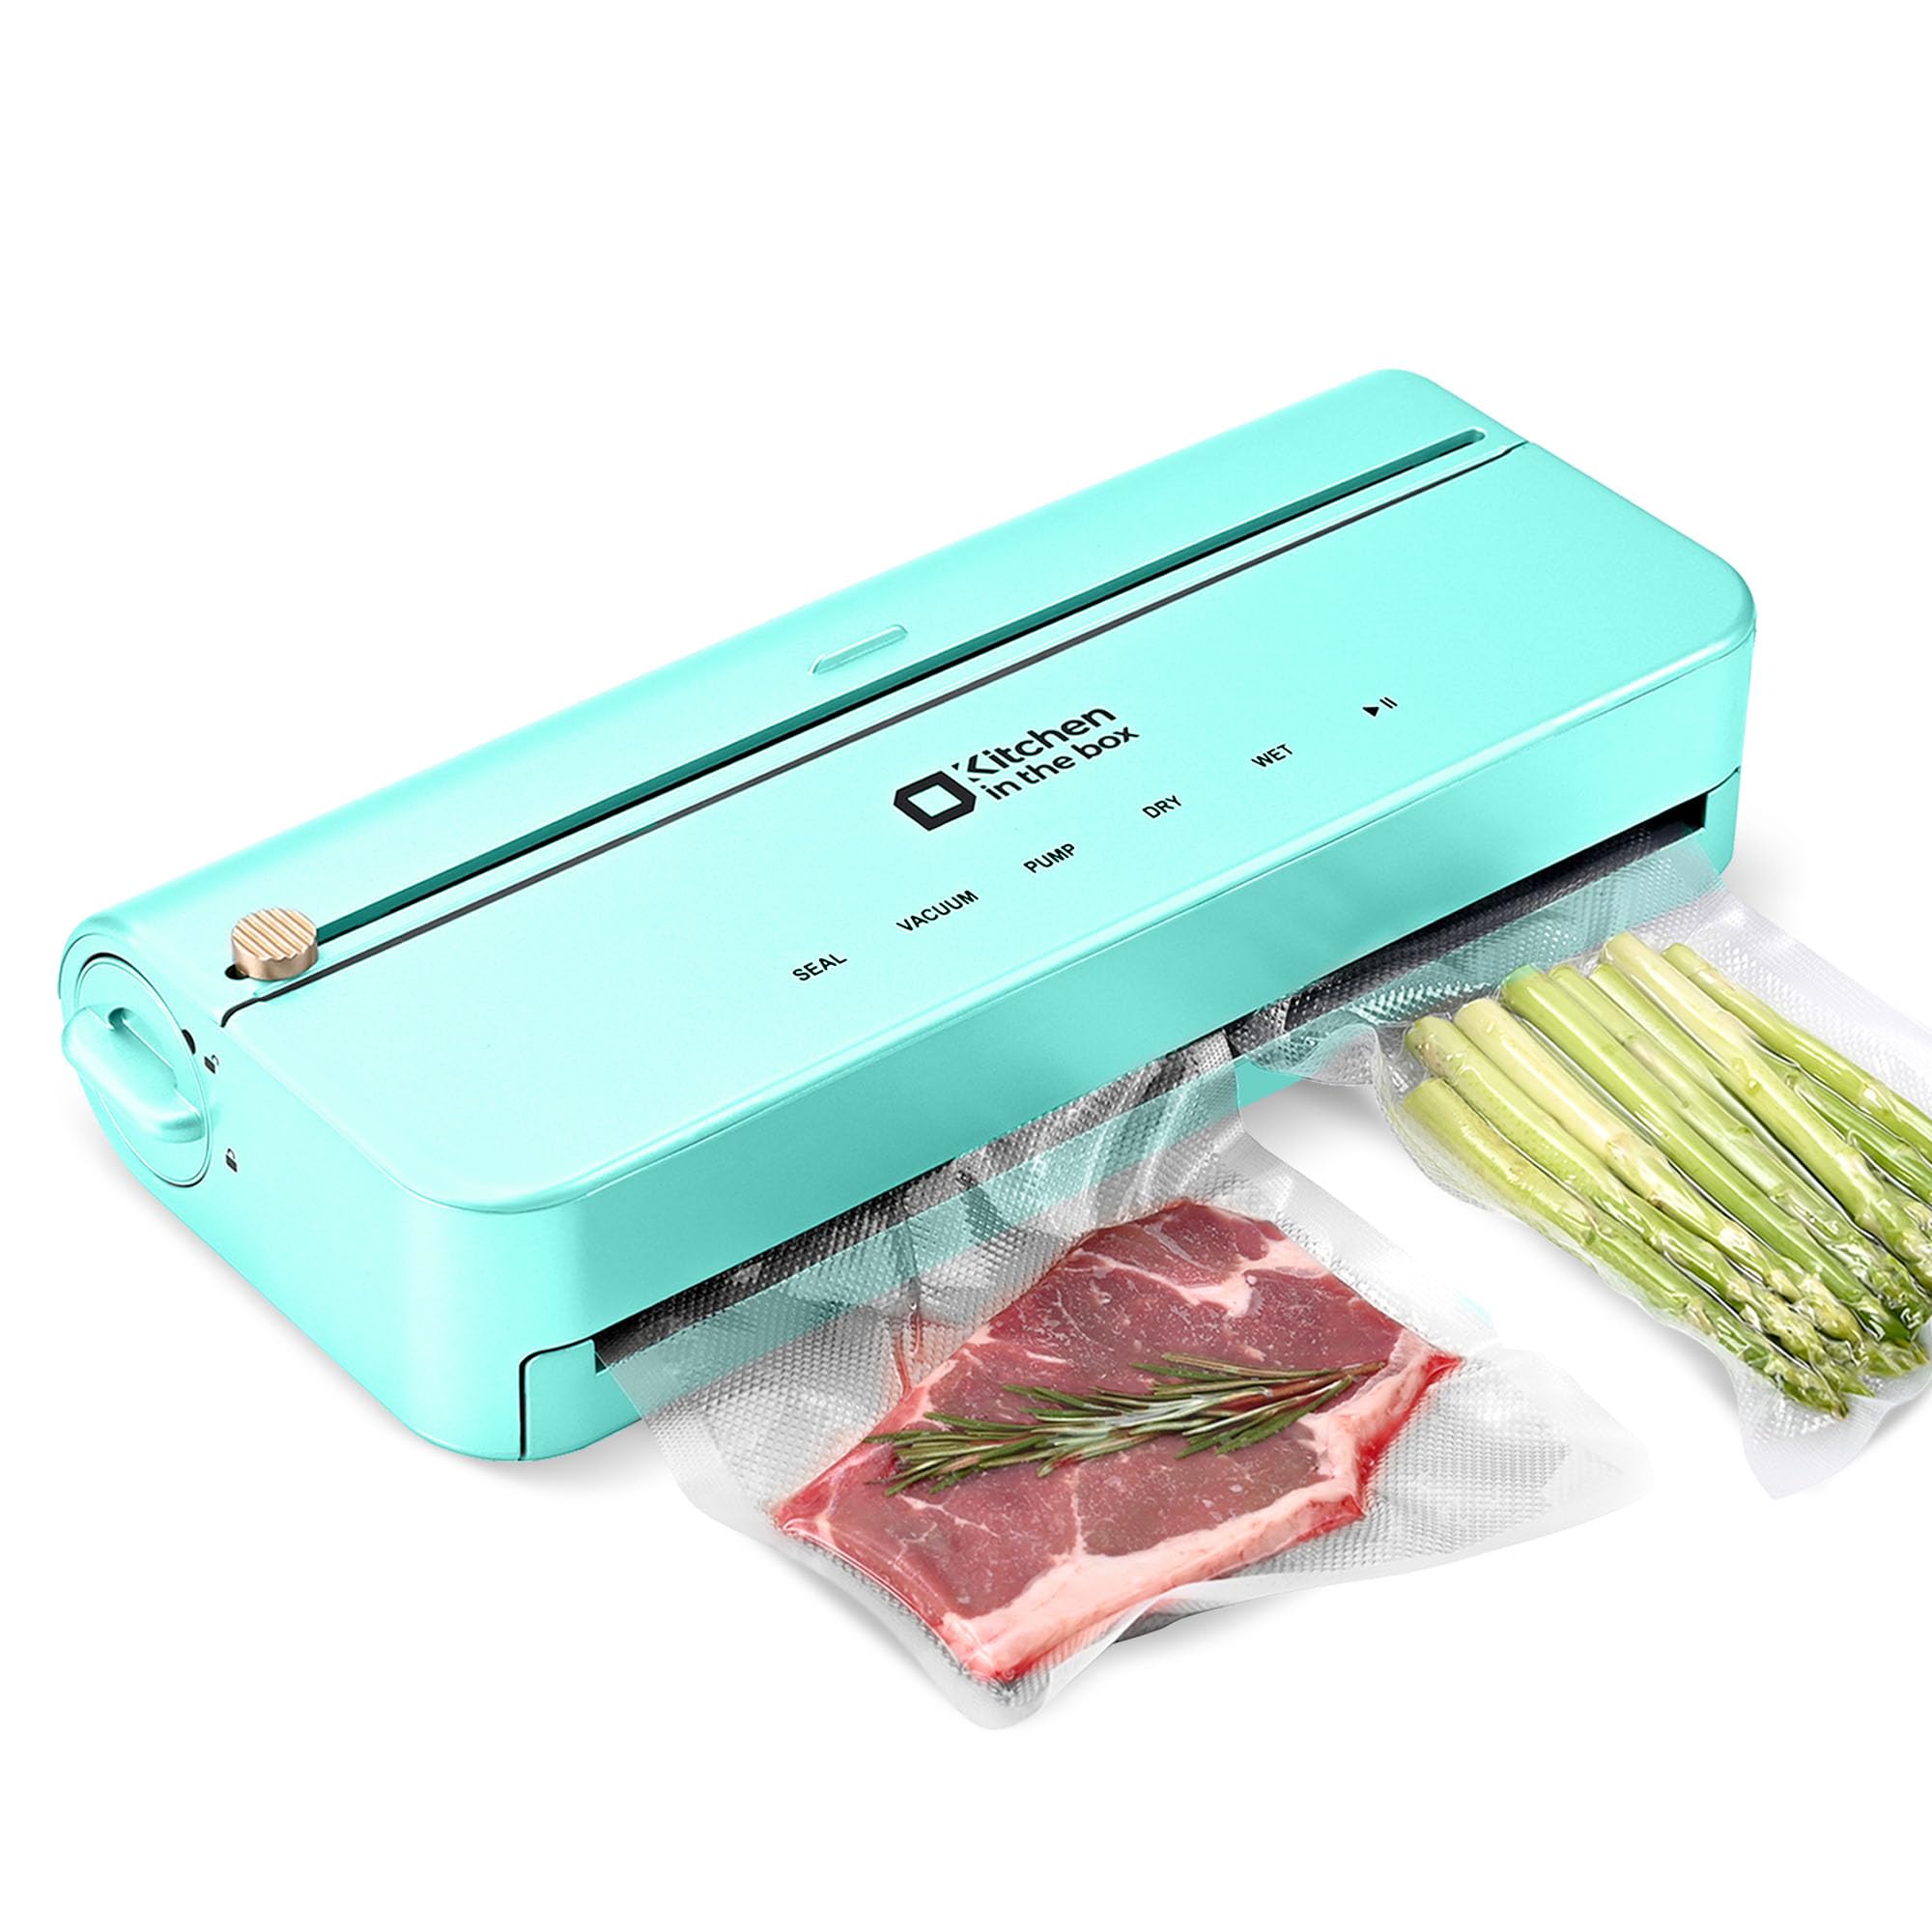
Proper cleaning is only half the battle; how you store and organize your equipment is equally crucial for its longevity and your convenience. A well-maintained and organized system makes the entire process of vacuum and jar sealing faster, safer, and more enjoyable. Let’s explore how to store your equipment properly and set up an efficient cleaning station.
Equipment Storage Best Practices
How and where you store your sealers and their accessories directly impacts their performance and lifespan. A little forethought here can prevent many common issues.
Protecting Your Investment
Your sealing equipment is a long-term investment in your kitchen. Proper storage protects it from environmental damage and physical wear.
- Store in a clean, dry environment away from direct sunlight: Humidity and heat are the enemies of electronic components and can degrade rubber gaskets over time. Always ensure your vacuum sealer and jar sealer are completely dry before storing them in a cool, dry cupboard or on a countertop away from windows.
- Use original packaging or dedicated containers for accessories: The original boxes are ideal for off-season storage as they provide a perfect fit and protection from dust. For daily-use items, a dedicated plastic bin with dividers keeps all attachments, hoses, and spare parts together and prevents loss.
- Keep hoses straight to prevent kinks and damage: Kinked hoses can crack over time and restrict airflow, leading to poor vacuum performance. When storing, coil hoses loosely or hang them on a hook to maintain their shape and integrity.
Organizing Supplies for Efficiency
An organized system saves time and reduces frustration when you’re ready to seal your food.
- Designate specific areas for bags, jars, and attachments: Use clear, labeled bins to separate different sizes of vacuum bags, jar sealer lids, and food containers. This makes it easy to find the right size quickly.
- Label cleaning supplies to prevent cross-contamination: Clearly mark spray bottles containing food-safe cleaners and those with stronger solutions for external cleaning. This ensures the right cleaner is always used on the appropriate surface, protecting your food and your machine.
- Create a maintenance log to track your cleaning schedule: A simple notepad or a note on your phone can help you track when you last performed a deep clean or replaced a filter. This proactive approach helps you stick to the monthly maintenance schedule outlined previously.
Creating Your Cleaning Station
Having all your cleaning tools in one dedicated place streamlines the maintenance process, making you more likely to do it consistently.
Essential Supplies Checklist
Keep these items together in a caddy or a specific drawer for quick access.
| Supply | Purpose |
|---|---|
| Soft cloths and non-abrasive sponges | For wiping down surfaces without scratching. |
| Food-safe cleaning solutions and sanitizers | Mild dish soap and a spray bottle with 70% isopropyl alcohol for sanitizing. |
| Cotton swabs and small brushes | For detailed cleaning of air channels, sealing strip grooves, and jar rim checkpoints. |
| Drying rack | Essential for air-drying removable parts like drip trays and liquid reservoirs completely before reassembly. |
Space-Saving Solutions for Small Kitchens
You don’t need a large kitchen to have an organized sealing station.
- Magnetic strips for metal attachments: Install a magnetic knife strip inside a cabinet door to hold metal jar sealer lids, wands, or other small magnetic accessories, freeing up drawer space.
- Stackable containers for bags and lids: Use slim, stackable containers to hold rolls of vacuum bags and boxes of pre-cut bags vertically, much like a filing system for your pantry.
- Wall-mounted storage for hoses and cords: Use adhesive hooks on the side of a cabinet or on the wall to hang the vacuum hose and power cord neatly, preventing tangles and keeping them off the counter.
Keeping your equipment and supplies organized is the final, critical step in a holistic care routine. By integrating these storage and organization tips with a consistent cleaning schedule, you ensure your vacuum and jar sealers remain reliable partners in your kitchen for all of 2025.
- Product: OXO Good Grips Kitchen Organization Set
- Link: https://amzn.to/3Vp3z3W
Mastering Your Sealer Maintenance Routine
Proper maintenance of your vacuum sealer and jar sealer transforms these appliances from short-term gadgets into long-term kitchen investments. Through consistent cleaning of critical components like sealing strips, air channels, and rubber gaskets, you prevent the 40% efficiency loss that plagues neglected machines. The techniques outlined—from daily wipe-downs with isopropyl alcohol to monthly deep cleaning of removable parts—systematically address both mechanical preservation and food safety concerns. By implementing the preventive maintenance schedule and troubleshooting common issues like poor vacuum performance or seal failure, you ensure your equipment delivers reliable performance year after year.
Remember that cleanliness directly correlates with seal integrity, which is the foundation of effective food preservation. Whether you’re maintaining your vacuum sealer’s internal mechanisms or ensuring your jar sealer’s gaskets remain contamination-free, these practices work synergistically to protect your investment. The organizational strategies further enhance your maintenance efficiency, creating a seamless workflow from use to storage.
Now that you’ve discovered the complete maintenance system for your sealing equipment, which tip will you implement first? Share your experience or favorite cleaning technique in the comments below to help fellow readers optimize their maintenance routines!

